I use a camera, but you can always get a video capture device. I looked into getting one and depending on how good a quality of one you want you can spend anywhere from about $30 to well over $200. If you want to do video along with pictures I would suggest a capture device. While I have taken video with my camera and my phone, it's a real hassle and the quality isn't very good.
I had read on-line about hooking up the 360 through your PC and taking pictures that way, but at the time my laptop wouldn't do it and right now I have a net-book that barely handles pictures when I get to many.
There are different ways to get your pictures. You can have amazing pictures if you take the time and learn how to get good pictures with your set-up.
I use some of my pictures as screen savers on both my pc and phone. It's very nice when people comment on the pictures.
* right at the moment I am trying to think of another subject to write on and doing re-writes of the ones I already posted.
Sunday, January 5, 2014
Wednesday, January 1, 2014
Controls
This is a good one to skip if you know all the controls already. I'm writing this as if for someone who has no idea which controls do what for picture taking purposes.
For Portraits:
Right stick is the most important
-up and down, left and right. This adjusts your angle that the face is in the "frame".
-Clicking the right stick puts you in 1st and 3rd person.
Left stick
- Moving the left stick will move the character closer or farther away from the object that you are using to put the character "in frame". You should only move left stick when behind the character so you can see how far or close you want to be.
- Clicking the left stick will put you in sneak mode and while you can take a pic that way, it tends to distort the face.
D-pad
- This pauses the action.
* it's not really needed IF you are inside an Inn or your home, but outdoors I would use it as other wise you could get attacked while you are trying to get your phone/camera ready.
* it also gives you a clear picture of what your character is going to look like. ( my lighting never changes using the D-pad).
* Not only is it giving you a clear look at what your character will look like, but you can make sure that there eyes are not closed or partly closed. Have them looking in exactly the direction you want.
Main Menu key
- Using this ( already paused with D-pad or by itself) will allow you to remove the HUD and cursor, also change lighting if you need to.
Action shots
X or Trigger ( either )
- draws your weapon or spells.
* which automatically puts the "camera" behind the PC
Right Stick
- left, right, up, down changes the angle the character is looking
- Click and hold to move the "camera" to the position you want
* if you let go it will either put you back in first person or behind the character.
* get the angle you want before clicking down on the right stick as it's very very hard to change that.
Left stick
-left and right will swing the camera around ( and go in and out towards pc)
- up and down will give you the chance to decide how far away you want your character to look
- clicking the left stick will put you in sneak mode
D-pad
- will pause and allow you to either take the picture or just get ready. ( also change outfits IF you have them in favorites.
Main menu
- will allow you to remove the HUD and change lighting
Kill-cams
- I have never been able to do more than use any menu to pause and change gear if wanted.
**************************************************************************
I did not use the "B" or inventory menu on any of this, the reason is while it IS usable, I don't mainly because you can't take a picture when using it ( when paused), it changes the light and makes everything look a bit blurred. The light change is not much and it isn't that blurry, I just don't like doing it. But otherwise you can change D-pad to "B" key ( or inventory menu key).
Tuesday, December 31, 2013
Editing
This will just be the basic's, if you want to photo-shop your pictures, there are alot of how-to's on that.
* for me editing starts before I even take the picture, while I am paused.
1). removing the HUD
2). either brighten or dim the lighting as/if needed
* once the picture is taken
1). crop the tv out of it if nessasary
* uploaded to on-line storage ( mine is photo-bucket)
1). go into the edit function
- re-crop if needed
- adjust brightness, contrast and sharpness as needed
Adjusting the brightness, contrast and sharpness together or seperately can take out some of the wavy lines cause by the tv. Usually brightness and sharpness will take out the lines and adjusting the contrast will make the picture look clearer.
I have done more to a couple pictures, but for me it's not worth the time. Well except the Christmas pictures, but that was just for fun.
I don't care if I do get the tv in the picture I have taken, because I know I can crop that out. Do try and take a square picture and not have the bottom or top be larger than the other.
Editing can give the appearance of a better picture, cause seeing your tv or messy bedroom might not thrill everyone.
General tips from my point of view.
What and how you take that picture is what makes them interesting. Never had grama pull out those old photo albums? and you'd rather do algebra in your head than have her pull out another.... unless that is she has those nifty pictures of Mom or Dad...buck naked as a baby running across the lawn. Uncle Bob passed out on the couch in a wig with make-up on. Interesting and funny, makes you want to keep looking.
While Funny might not be your aim, don't discount the pic of some NPC walking on air.... take that goofy pic of your PC looking up her skirt... and give it an appropriate caption. The deer half in the ground, shoot it in the butt with an arrow...take a pic, make the caption funny... or even photo shop a caption balloon into the pic.
The angle of the picture can make the picture better than it would have been otherwise. Lighting and luck have lot to do with it also. Patience...lot and lots!!
I knew this area would make a good clear picture, but I wanted something cool, neat...memorable. I played around with the angles and the characters pose until I found something I thought would make a great picture.
There is only so much we can do with a console and controller. BUT what can be done is only limited by your imagination.
You've got a beautiful or BA character and you want to share, do so and keep your head high. Perhaps they don't look like your best friends...who has that nice pc...soooo, you take a good...interesting...funny... BA...picture and hold your head up high.
You look at my phone... what you'll see..picture wise...my Son in his Army uniform, my dogs ( various pictures) my hubby, places we have been and my very favorite Skyrim pictures... I have had people ask me where this or that picture was taken... obviously the second is a real picture. When I say Skyrim to the first they look at me oddly and ask where that is. Well they are looking at a 2in by 2in picture on my phone, not nearly as big as the one on the computer.
Are my pictures perfect...well no, of course not. I try and I try hard to make them look nice. You can to, work at it.
General tips for good pictures are the same as taking real life pictures, 1/2 what your take will only be interesting to you.
* Always take more than one picture... the wavy lines may not be in the second or third picture.
* if the content is darker than you would like, if you are paused, go into the main menu and turn up the brightness. Use a torch or light spell, just remember they are both going to cause shadows and different coloring to the picture.
* That scene looks nice?... but kinda...ho-hum? move the Point of view to another angle. Make it look like someone is "peeking" at your character from around a tree or rock. Is there a shadow?... might look kinda nice in a picture... I have yet to get a full shadow of a dragon flying over my character...but I AM working on that.
* pay attention to the background... nothing like taking that "seriously eipc" picture only to later notice the naked courier ( revliers...whatever) in the background.
Thursday, December 26, 2013
Close up and action shots
I will tell you right now that close-up Portraits are not really my best thing.
Siria Brevalaer
My biggest problem is lighting, I can't stand my characters to look "washed out" so just increasing the "brightness setting" doesn't work for me. I end up with shadows, some look good, some don't.
Portraits:
Find a place with good lighting... fire pits are not "good" lighting. ( at least not always)
Cara at a fire pit
You get that "red/orange" look at times....and it wasn't something you "saw" on your tv.
Go into 3rd person and swing the camera view around until you "see your character", if the picture looks good, take it...to far away? crop it.
Angle wrong? swing the camera away from your character and look up or down, depending on which way you think the angle needs to be changed. Then keeping that same angle go back to looking at your character. If it still appears to be wrong, go into 1st person and move up or down that way, then back to 3rd person.
Change the brightness settings on your console to get a better look, just remember to put them back.
Any place that the area looks sharper or clearer, such as the Winking Skeever, will take better portraits as well as other pictures.
Action shots:
So this kinda picture is what you want? I'll tell you right now, you will either catch on real quick or it will be an effort in fustrasion to get it right. ( a second person to take the picture would make it sooo much easier)
1) go face a rock, house, wall or other "large" object...a sign post would work, but be alot harder to do. don't be to close.
2) pull out your weapon or spell or both.
3) click your right stick and swing the camera around to face your character. ( if you are to close in click the stick again and then again {out then back into 3rd person} pull back on the left stick to get the distance you want. swing around so you are facing your character. ( or have a slight angle, your choice)
4) Pull back the trigger, to "caste" your spell ( or swing ) and be prepared to quickly hit the D pad when you let go the trigger.
5) Hit the D pad to pause the game, you may have to do this over and over and over again til you get exactly the picture you want. ( this is where that second person would come in handy.
a. instead of having to worry about pausing, just have the other person point and take pictures.
6) the screen is perfect, exactly what you want...well except the "favorites menu" and HUD...
a. the reason I said "don't be to close, is you can crop the menu out.
b. hit the Main menu key and reduce the HUD brightness til it goes away, then take the picture.
uncropped picture
same picture cropped, but not "edited"
I would generally "edit" the picture making it sharper.
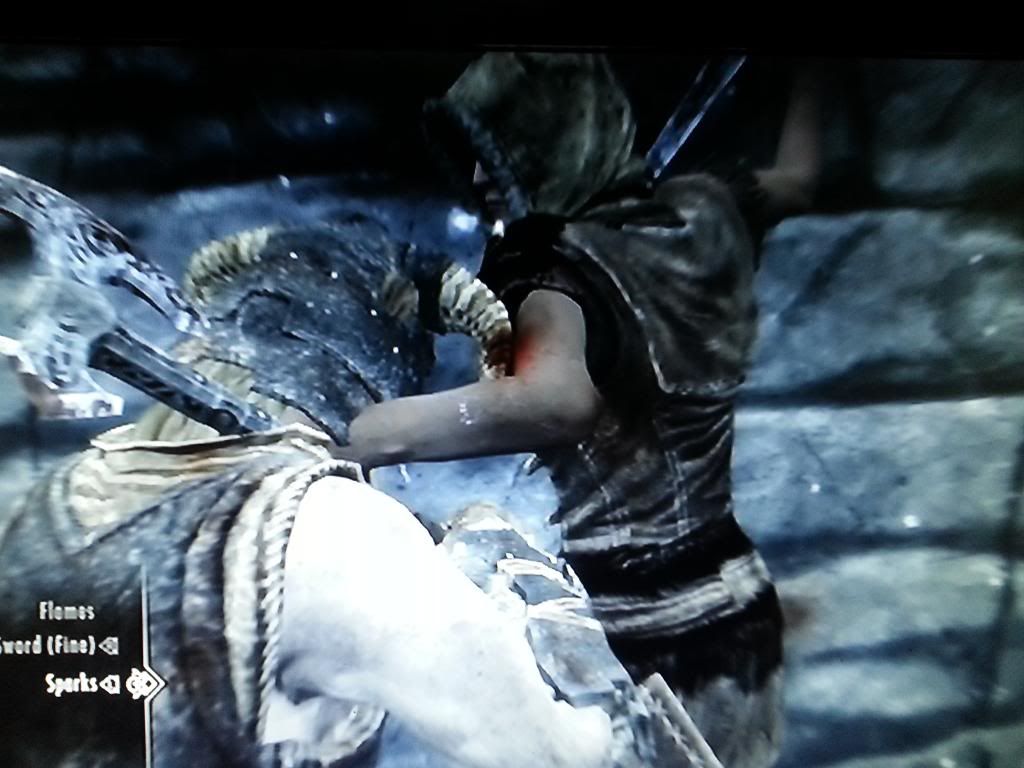
The exact same principals work for "fight" scenes, just be very prepared to fight them over again. Unfortunately you can't pause the action to set up the view. It can be done though.
Kill-cam's:
The exact same principals apply to them, the only difference is that you can pause, take out the HUD, get your camera ready, put the controller down, use one finger to un-pause and click OR video away ( if your camera/phone has that option.
One of the things I have found about the "action" pic's is that you can get some really neat angles. IF you do "action" pic's after a fight, depending on the angle you can end up with a picture that looks like you took it in the middle of the fight.
Just try and remember your background, truely epic pictures are going to have a really great background.
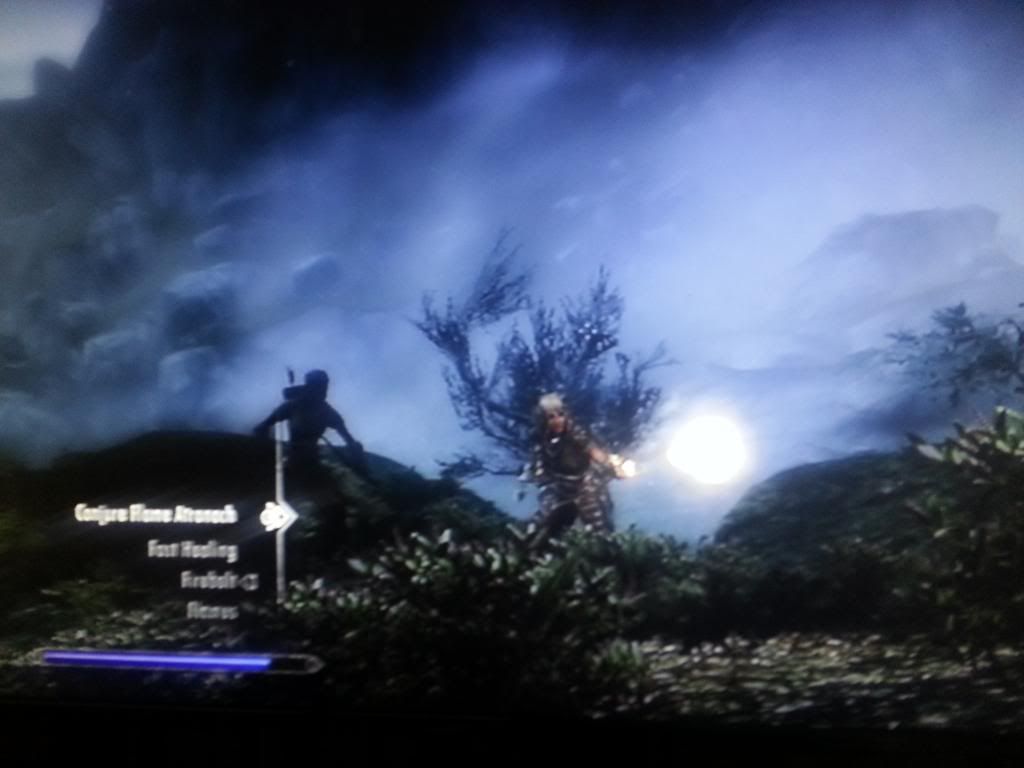
Don't worry if the light isn't the greatest if you are getting that action shot of your mage throwing a fire or shock spell ( even frost has a glow) because if you catch it close to their face it will light them up also and really look great!
Siria Brevalaer
My biggest problem is lighting, I can't stand my characters to look "washed out" so just increasing the "brightness setting" doesn't work for me. I end up with shadows, some look good, some don't.
Portraits:
Find a place with good lighting... fire pits are not "good" lighting. ( at least not always)
Cara at a fire pit
You get that "red/orange" look at times....and it wasn't something you "saw" on your tv.
Go into 3rd person and swing the camera view around until you "see your character", if the picture looks good, take it...to far away? crop it.
Angle wrong? swing the camera away from your character and look up or down, depending on which way you think the angle needs to be changed. Then keeping that same angle go back to looking at your character. If it still appears to be wrong, go into 1st person and move up or down that way, then back to 3rd person.
Change the brightness settings on your console to get a better look, just remember to put them back.
Any place that the area looks sharper or clearer, such as the Winking Skeever, will take better portraits as well as other pictures.
Action shots:
So this kinda picture is what you want? I'll tell you right now, you will either catch on real quick or it will be an effort in fustrasion to get it right. ( a second person to take the picture would make it sooo much easier)
1) go face a rock, house, wall or other "large" object...a sign post would work, but be alot harder to do. don't be to close.
2) pull out your weapon or spell or both.
3) click your right stick and swing the camera around to face your character. ( if you are to close in click the stick again and then again {out then back into 3rd person} pull back on the left stick to get the distance you want. swing around so you are facing your character. ( or have a slight angle, your choice)
4) Pull back the trigger, to "caste" your spell ( or swing ) and be prepared to quickly hit the D pad when you let go the trigger.
5) Hit the D pad to pause the game, you may have to do this over and over and over again til you get exactly the picture you want. ( this is where that second person would come in handy.
a. instead of having to worry about pausing, just have the other person point and take pictures.
6) the screen is perfect, exactly what you want...well except the "favorites menu" and HUD...
a. the reason I said "don't be to close, is you can crop the menu out.
b. hit the Main menu key and reduce the HUD brightness til it goes away, then take the picture.
uncropped picture
same picture cropped, but not "edited"
I would generally "edit" the picture making it sharper.
The exact same principals work for "fight" scenes, just be very prepared to fight them over again. Unfortunately you can't pause the action to set up the view. It can be done though.
Kill-cam's:
The exact same principals apply to them, the only difference is that you can pause, take out the HUD, get your camera ready, put the controller down, use one finger to un-pause and click OR video away ( if your camera/phone has that option.
One of the things I have found about the "action" pic's is that you can get some really neat angles. IF you do "action" pic's after a fight, depending on the angle you can end up with a picture that looks like you took it in the middle of the fight.
Just try and remember your background, truely epic pictures are going to have a really great background.
Don't worry if the light isn't the greatest if you are getting that action shot of your mage throwing a fire or shock spell ( even frost has a glow) because if you catch it close to their face it will light them up also and really look great!
Pausing.. the game
Their are a couple ways to "pause" the game. 1st is hitting the main menu start ">" button , 2nd, game "menu" "B" button, 3rd favorites, "D" pad. ( "B" button is on 360, as that's what I have)
I'm going to go with my least reccomended 1st, which is the main menu "start" button, on both controllers it is in an odd place to hit quickly ( or at least that's my opinion). While you can remove the HUD and brighten or darken the picture, that is all you can do.
Hitting the in-game menu button ("B"on 360 ) you can change armors, weapons etc, then hit the "main" menu key and change the HUD and brightness settings if you want, back out of that and still be paused ( it's touchy on the 360 though, sometimes it would unpause on me). Get your camera/phone ready and unpause yourself.
Favorites "D" pad, ( this is what I generally use). The down side is unless you have your armor(s) or clothing in favorites you can't change ( I do, if I know I plan on taking pics in certain armor) same with weapons. You can't hit the in-game menu button with out unpausing the game. You can hit the main menu button and for me has been more reliable about not unpausing the game. The biggest plus is the fact that you can take a picture while paused, just edit/crop out the menu.
example with words from menu ( also uncropped)
Which you decide to use is really up to you. I think it is much easier to remember to hit the "D" pad while playing ( often as soon as I realize that the "kill-cam" is running...as in the above picture.
My biggest tip though is to take a deep breath and remember you are paused, the game has stopped, take all the time you want to set up your camera!
You can un-pause and then re-pause during a Kill-cam, I generally don't, I just click away with my phone. Don't be discouraged if your 1st couple of Kill-cam shots don't come out as good as you think they should have, it takes a little bit of practice to pause right at the begining of each type and then get a really good action shot.
Remember to remove the HUD, it makes for a much, much better picture. Then you can take your camera to one of those "photo centers" and print out that truely awesome picture...make your own Skyrim Poster. err or in my case mouse pad :)
Lighting
TV/console settings:
1. Check the settings on your TV, some newer tv's will have different settings for different things. Play your game on "game", either way adjust your settings, alot of people have them to bright. It will also make your favorite show look better.
a. During a "game show" or other show you know is brightly lighted, adjust the brightness up and down til the program looks the best to you. Also adjust the contrast. ( this should be about middle settings).
b. Turn on your game ( IF you have a tv that saves "game", "sports"," movie"...etc) change your setting here also. If not then adjust your brightness settings on the 360 or ps3.
* I generally wait til night time and walk away from town and look for the moons and if they are not there I turn the setting down til I have a hard time seeing in the distance. Lite a torch and go to 3rd person, is there a nice contrast of light to dark? In town, like Whiterun, I like to see a "pool of darkness" between firepits.
* wait again til day time, then look around, is there a "blue/grey haze in the near distance ( not fog, haze) if so bump the brightness down and check again. bump check,. Another way to check brightness is to go to the ice packs and look around, I generally don't like to see to much "snow glare".
** you may decide to play different type characters at different brightness settings, I play my Khajiits on a much darker setting than others, so that the "night eye" really mean's something.... plus torches are a must, on all my other characters.
Outside lights ( your house lights):
1. turn them off... or at least make sure they are not putting "spots" on your tv screen!
2. Flash on the phone or camera should be turned off
a. if you have a "sports" setting on your phone or camera use that setting as it will take out some of the "movement blurr" ( not all though as some is actually in the game).
IN Game:
1. Always take more than one picture of any setting
a. this will help with the "lines", one pic may have them and the next not.
2. get to know your set-up
a. some area's of the game will take better pic's than others, your phone/camera may also take better pictures at certain times of day or night.
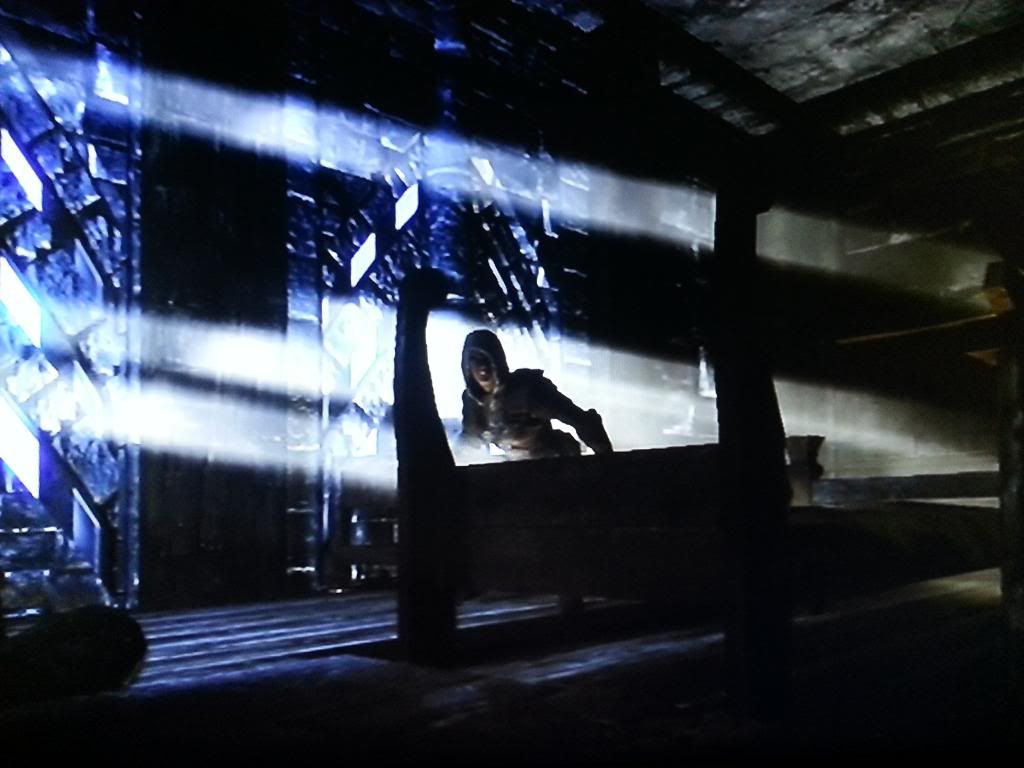
*** my phone takes odd "night" pictures, some are grainy, some not. night and caves will often have a "blue" tinge.
b. what you see and what the camera/phone see are not always the same thing.
*** pause the game and look. ( I will have area for pausing and shooting pic's tip's)
3. The time of day ( or night and moons out or not) will have a big effect on how well the picture comes out.
a. sunrise and sunset provide some awesome pictures, with or without your character.
* remember you can brighten or dim the settings to adjust what the picture looks like. Pause when you do this.
** I have often brightened the settings to get a really great picture that was otherwise way to dark.
b. Keep torches and/or light spells handy, they will help in dark area's.
Sometimes the best pictures have alot of shadow's in them, think contrast. One of my favorite pic's has my chracter on a horse with shadow's from a tree over both of them, you can "see" them, but her face is not brightly lit.
I do end up editing alot of my pictures, IF I really like them, as I get the 'lines" through them. I will post a small area with tips on removing the lines, sometimes it works, sometimes the pic is meh after words.
a. During a "game show" or other show you know is brightly lighted, adjust the brightness up and down til the program looks the best to you. Also adjust the contrast. ( this should be about middle settings).
b. Turn on your game ( IF you have a tv that saves "game", "sports"," movie"...etc) change your setting here also. If not then adjust your brightness settings on the 360 or ps3.
* I generally wait til night time and walk away from town and look for the moons and if they are not there I turn the setting down til I have a hard time seeing in the distance. Lite a torch and go to 3rd person, is there a nice contrast of light to dark? In town, like Whiterun, I like to see a "pool of darkness" between firepits.
* wait again til day time, then look around, is there a "blue/grey haze in the near distance ( not fog, haze) if so bump the brightness down and check again. bump check,. Another way to check brightness is to go to the ice packs and look around, I generally don't like to see to much "snow glare".
** you may decide to play different type characters at different brightness settings, I play my Khajiits on a much darker setting than others, so that the "night eye" really mean's something.... plus torches are a must, on all my other characters.
Outside lights ( your house lights):
1. turn them off... or at least make sure they are not putting "spots" on your tv screen!
2. Flash on the phone or camera should be turned off
a. if you have a "sports" setting on your phone or camera use that setting as it will take out some of the "movement blurr" ( not all though as some is actually in the game).
IN Game:
1. Always take more than one picture of any setting
a. this will help with the "lines", one pic may have them and the next not.
2. get to know your set-up
a. some area's of the game will take better pic's than others, your phone/camera may also take better pictures at certain times of day or night.
*** my phone takes odd "night" pictures, some are grainy, some not. night and caves will often have a "blue" tinge.
b. what you see and what the camera/phone see are not always the same thing.
*** pause the game and look. ( I will have area for pausing and shooting pic's tip's)
3. The time of day ( or night and moons out or not) will have a big effect on how well the picture comes out.
a. sunrise and sunset provide some awesome pictures, with or without your character.
* remember you can brighten or dim the settings to adjust what the picture looks like. Pause when you do this.
** I have often brightened the settings to get a really great picture that was otherwise way to dark.
b. Keep torches and/or light spells handy, they will help in dark area's.
Sometimes the best pictures have alot of shadow's in them, think contrast. One of my favorite pic's has my chracter on a horse with shadow's from a tree over both of them, you can "see" them, but her face is not brightly lit.
I do end up editing alot of my pictures, IF I really like them, as I get the 'lines" through them. I will post a small area with tips on removing the lines, sometimes it works, sometimes the pic is meh after words.
Subscribe to:
Posts (Atom)